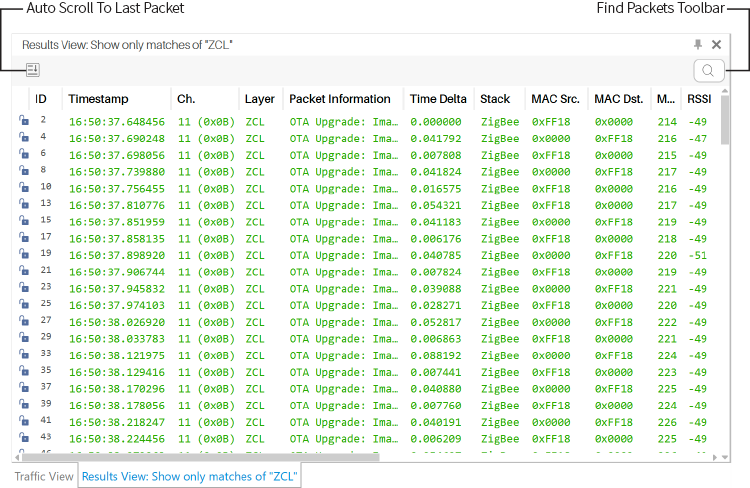
Results View

Results View

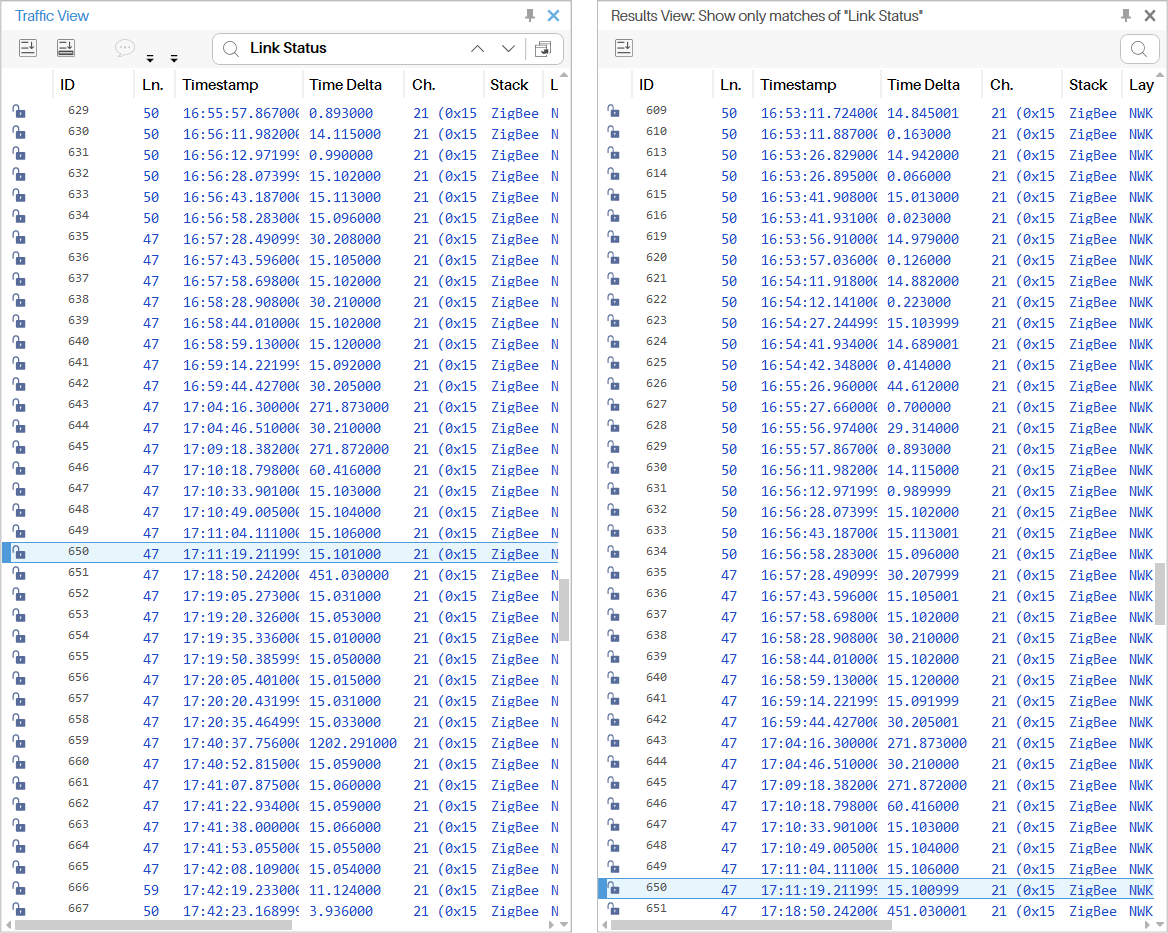
The content displayed in this view can be the result of a search with the Traffic View‘s Find tool, or a filter applied to a live or saved capture, in this way you will be able to visualize a subset of captured packets. Every time a search or a filter is applied in the Traffic View, the current Results View information will be updated with the new criteria.

The Results View’s toolbar has the Auto Scroll To Last Packet button, the Label of the Active Filter, the Unset Filter button and the ‘Find Packets’ tool with which you can make string searches inside the view. The comments of the packets can not be added or modified from the Results view, you will have to do it in the Traffic view, the changes in the comments are synchronized, so when you modify a comment in the Traffic view it will appear in the Results View automatically.

Results View

Label of the Active Filter

This label shows the filter expression of the filter that is currently active in the Results View, the expression is the representation of the rules of the filter using Mathematical operators and Logical operators, there are also parenthesis to show the order of the operations.

Rules’ match up Condition Logical operator Example
Any OR Rule1 OR Rule2
All AND Rule1 AND Rule2
Filter Operator Math operator Rule Expression
Is = field = value
Is Not field ≠ value
Is Greater Than > field > value
Is Less Than < field < value
Is At Least field ≥ value
Is At Most field ≤ value
Is In The Range X value1 ≤ field ≤ value2
Contains field ∋ value
Does Not Contain field ∌ value
Starts With regex field = ^_value_.*$
Ends With regex field = ^.*value$
Is True = field = True
Is False = field = False
Is After > field > value
Is Before < field < value
Is Present field ∃
  • regex means that a regular expression is used for the rule

Example:

Filter Expression

Unset Filter

The Unset filter button will disable the filter that is currently set in the Results view so the packets captured won’t be filtered anymore and the Results view will be cleared, this button’s action won’t have any effects in the Traffic view.

Columns

The columns of the Result view have the same Functionality as the columns in the Traffic view, except that the configuration(width and order) of the columns in the Result view is not saved in the environment variables, so even if you set a different configuration for the columns of the Result view and the columns of the Traffic view, they will have the same when Ubiqua is opened. Also the Result view is not affected by the changes done to the columns from the Traffic tab in Preferences.

Synchronization of the packet selected

The Results View’s and Traffic view’s packet selection are synchronized, when you select a packet in either of the views the same packet will be selected and scrolled in the other view. The Results view will keep its the last packet selected in the case that the selected packet in the Traffic view doesn’t exist in the Results view.

Packet Selection Synchronization

Scroll bar’s tool tip

The Results view’s and Traffic view’s scroll bar have a tooltip that will be shown while you press it. The tooltip will show you a preview of the first and last packet that will come into view when you release the scroll bar. The preview of the packets includes the packet’s ID and Packet Information.

Scrollbar preview

Status label

The status label is located in the Status bar, the label has the format “RV: total” or “RV: Index of Total” depending if there is a packet selected or not in the Results view.

  • Index - Is the index of the packet selected in the Results View, it is not the same as the packet id, this will not be present if there isn’t any packet selected in the Results view.

  • Total - Is the total number of packets in the Results View, it includes the packets that where Reconstructed (for this reason it might be bigger than the total number of packets in the Traffic View).

Status bar label